Sunday, September 29, 2013

Master Suite: The Closet

When we were house hunting, all the houses we looked at had wire shelving in every closet and I hate wire shelving! The hangers don't always slide right and anything folded on the shelves gets lines on it. We decided to take out the five wire shelves in our master closet and put in melamine shelving.


First we had to decide whether to DIY or purchase a closet kit from the hardware store. Our closet is 12 feet along the main wall so we had a lot of space to cover and we knew it wouldn't be cheap. The first closet system we looked at was going to be about $658. The second closet system at a different store was going to cost about $520. We tried calculating doing it ourselves and figured it was going to be more complicated to build what we wanted (especially after looking at the nice kits), so we scratched that idea altogether. We decided to go with the cheaper option.

After we took out all of the shelving, we had to patch up the holes. There were a lot!

Then I painted the closet with Olympic's Country Beige with a satin sheen. Doesn't that look better?

 Next up was to assemble and install the closet system. I planned to do this part on my own, however, it involved making sure things were square and I had to call in reinforcements for help (aka my hubby)!


Now I have so much storage space that I don't even know what to do with it all!

Project Cost $519.06

Friday, September 27, 2013

Master Suite: Let's Move a Door!

We have a serious door issue in our bathroom. The doors between the bedroom and bath are double doors. The left double door hits the toilet room door when open and the right double door blocks the entrance to the closet. It was very frustrating having to move doors all the time to get around! See all those doors in the bathroom? It was a mess!

In the middle of our tiling project, we decided to move our closet door to be off the bedroom to help solve some of the door issues we were having. Here is the old door:

First we knocked out some of the wall in our bedroom. I got to take the first swing! As I have mentioned before, we are lacking in the tool department, so we just used a hammer and a crowbar to create the opening. There were pieces of drywall everywhere, but at least we had fun doing demo!

As far as supplies for installing the new door, we bought a pre-hung door, shims, drywall, 2 x 4 studs, 2 x 8 header, and screws from the hardware store. The door was fairly easy to install. It did take both of us and took about an hour.

One issue that we still have not resolved is the floor where the old wall was. It is down to the sub floor and is too large to put a transition down like we did to the bathroom. Our temporary solution is carpet samples. It's not perfect, but its better than the wood!

Project Cost $96.86

Wednesday, September 25, 2013

Master Suite: Tiling Newbie

The next big to do item on our master bathroom reno was the floor. Check out this dated, ugly linoleum floor:

Doesn't it just make you want to cringe? Me too! After our contractor fiasco, my husband decided to tackle this project on his own. He had never tiled before, so he attended a tiling class, watched a ton of YouTube videos, and did plenty of research beforehand. He made a list of what he needed and we headed to the hardware store.
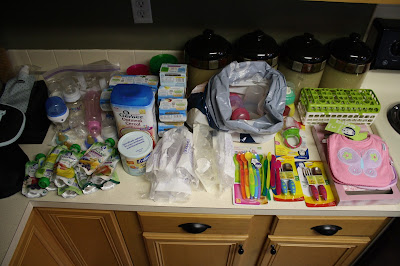
We bought:
- tile
- tile spacers
- wet tile saw
- mortar
- square notch floor trowel
- grout float
- buckets
- grout sealer
- sponges
- fibatape
- cement board
- cement board screws
- floor trowel
- chalk reel
- circular saw blade
- drill bits
- carpet edge
- grout sand
- baseboards and shoes
- wood putty
- baseboard nails
- wood glue
- miter box
- cherry moulding
- white caulk
- sandpaper
Apparently you need a lot of stuff to tile a floor! I was totally hands off on this project (and I apologize for my lack of pictures during the process!) First my hubby pulled up all of the old linoleum to expose the sub floor. Then he measured and put down concrete board with concrete screws. He filled in all the gaps between the concrete board with mortar, fibatape, and more mortar, all while making sure it was all staying level.

After that was dry, he laid out the tiles to figure out the most sensible arrangement (thought about different cuts he would have to make as well as making it aesthetically pleasing). Once he knew what the layout was going to be, he made straight lines with the chalk reel. Next up was putting down mortar, spreading it out with a square notched trowel, laying the tile down, and putting in tile spacers.

Once the tile was set, he filled it all in with grout sand. Next, he formed the grout and the grout lines (that signature slight dip down isn't automatically made apparently). Finally he cleaned the floor and sealed it.

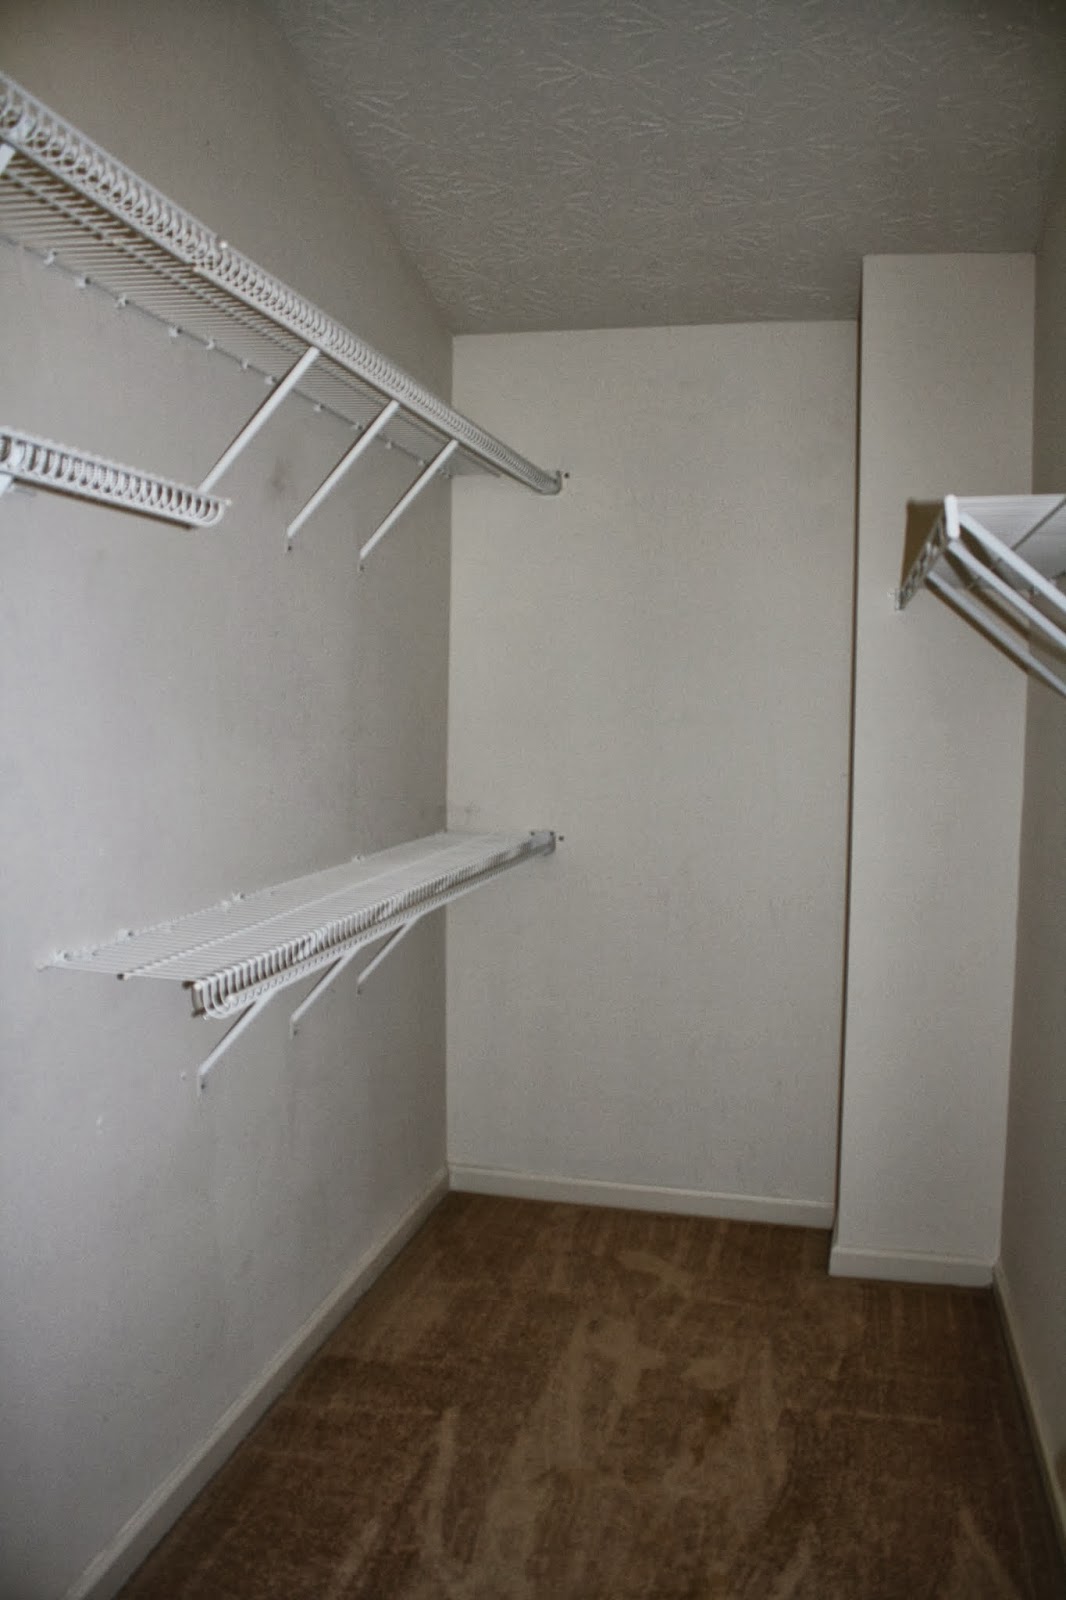
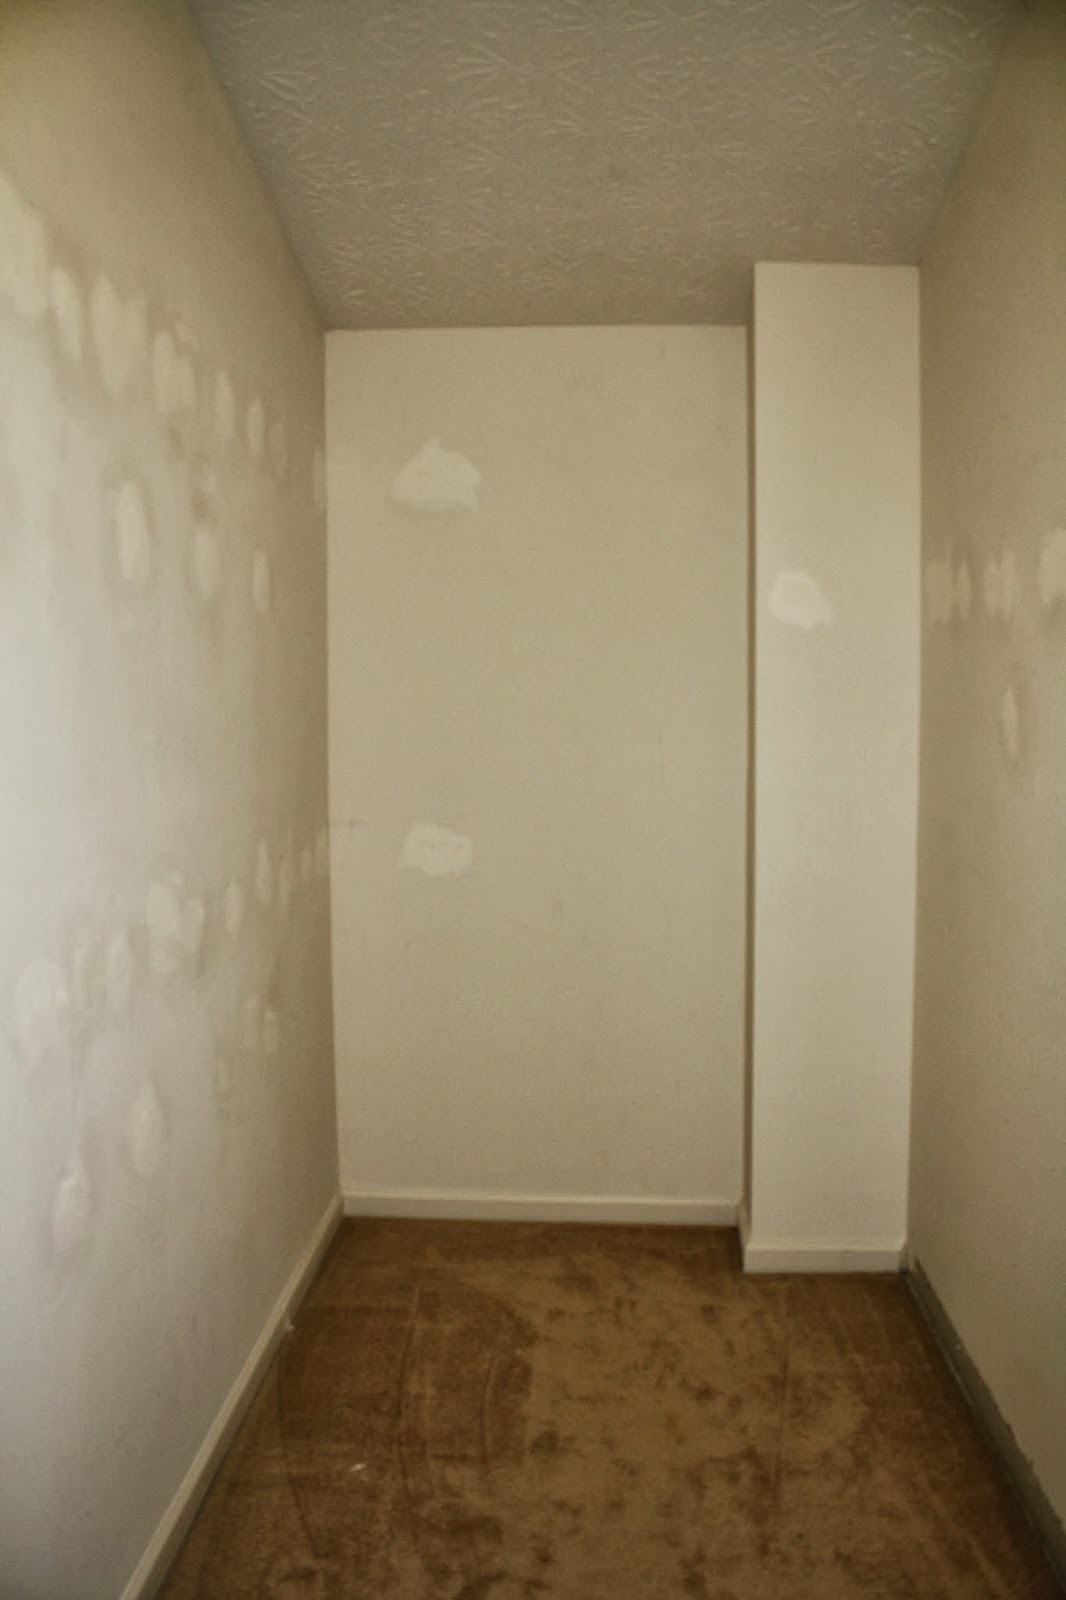
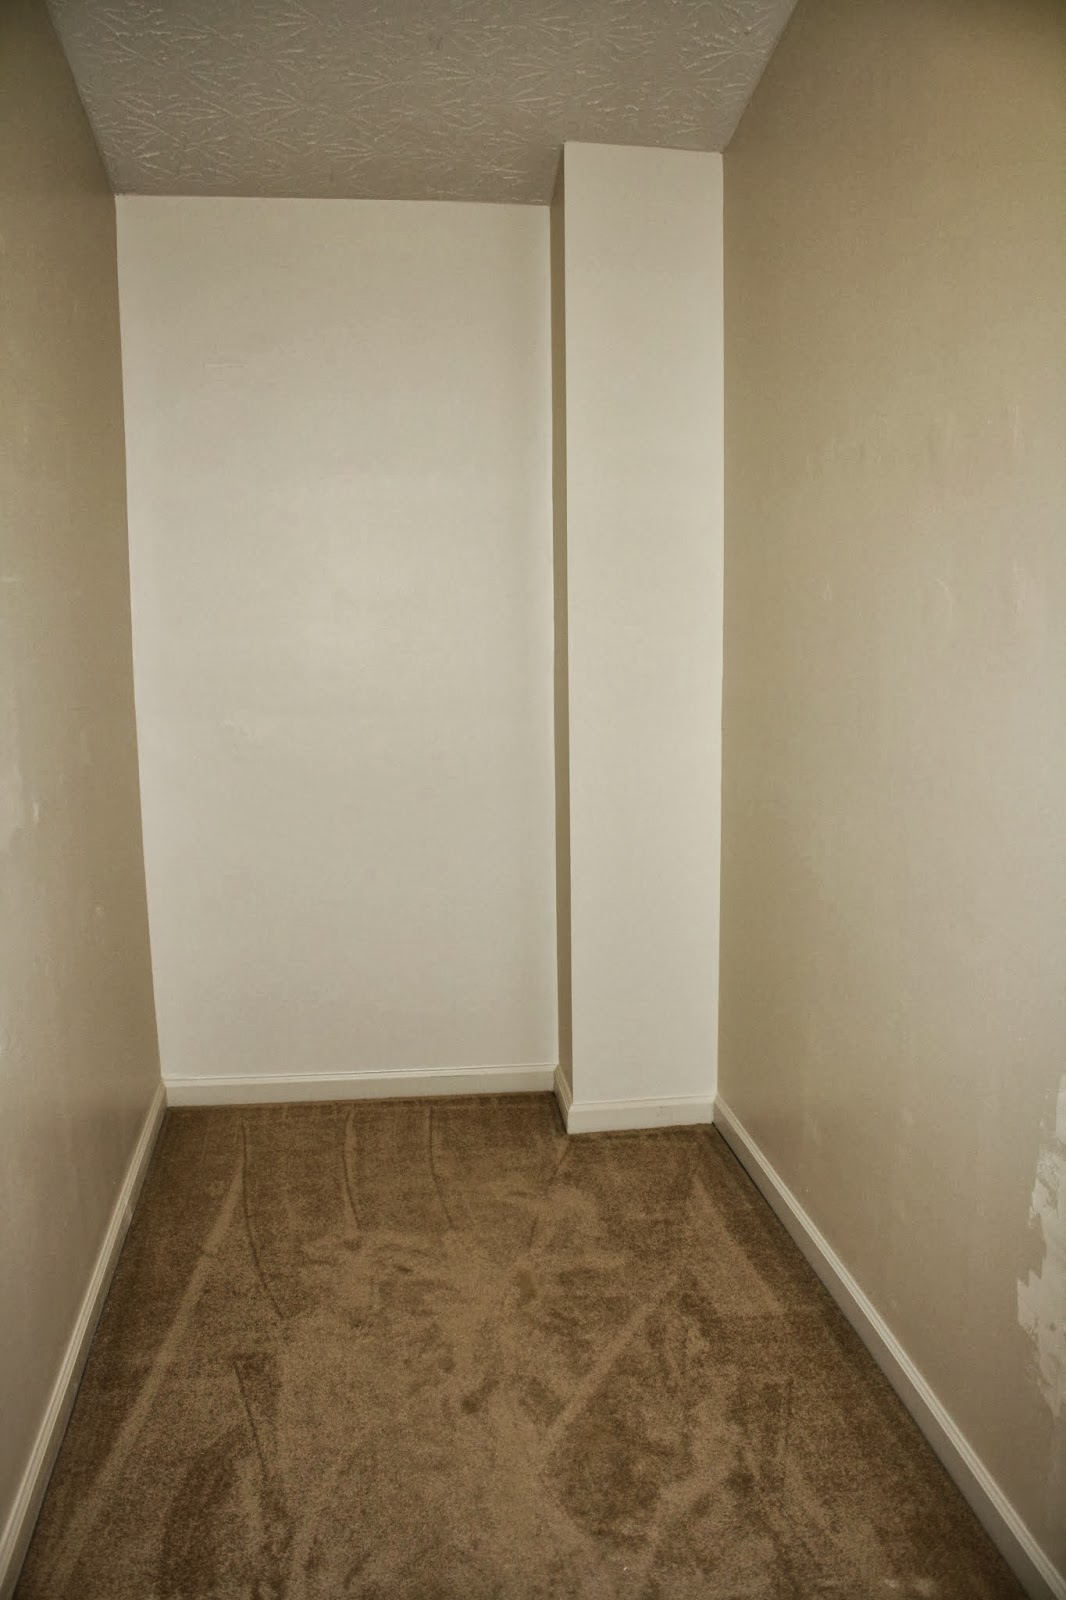
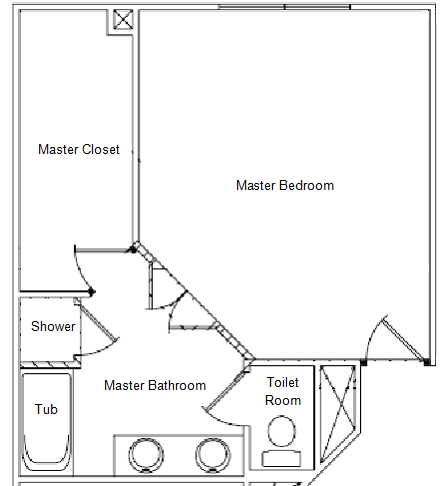
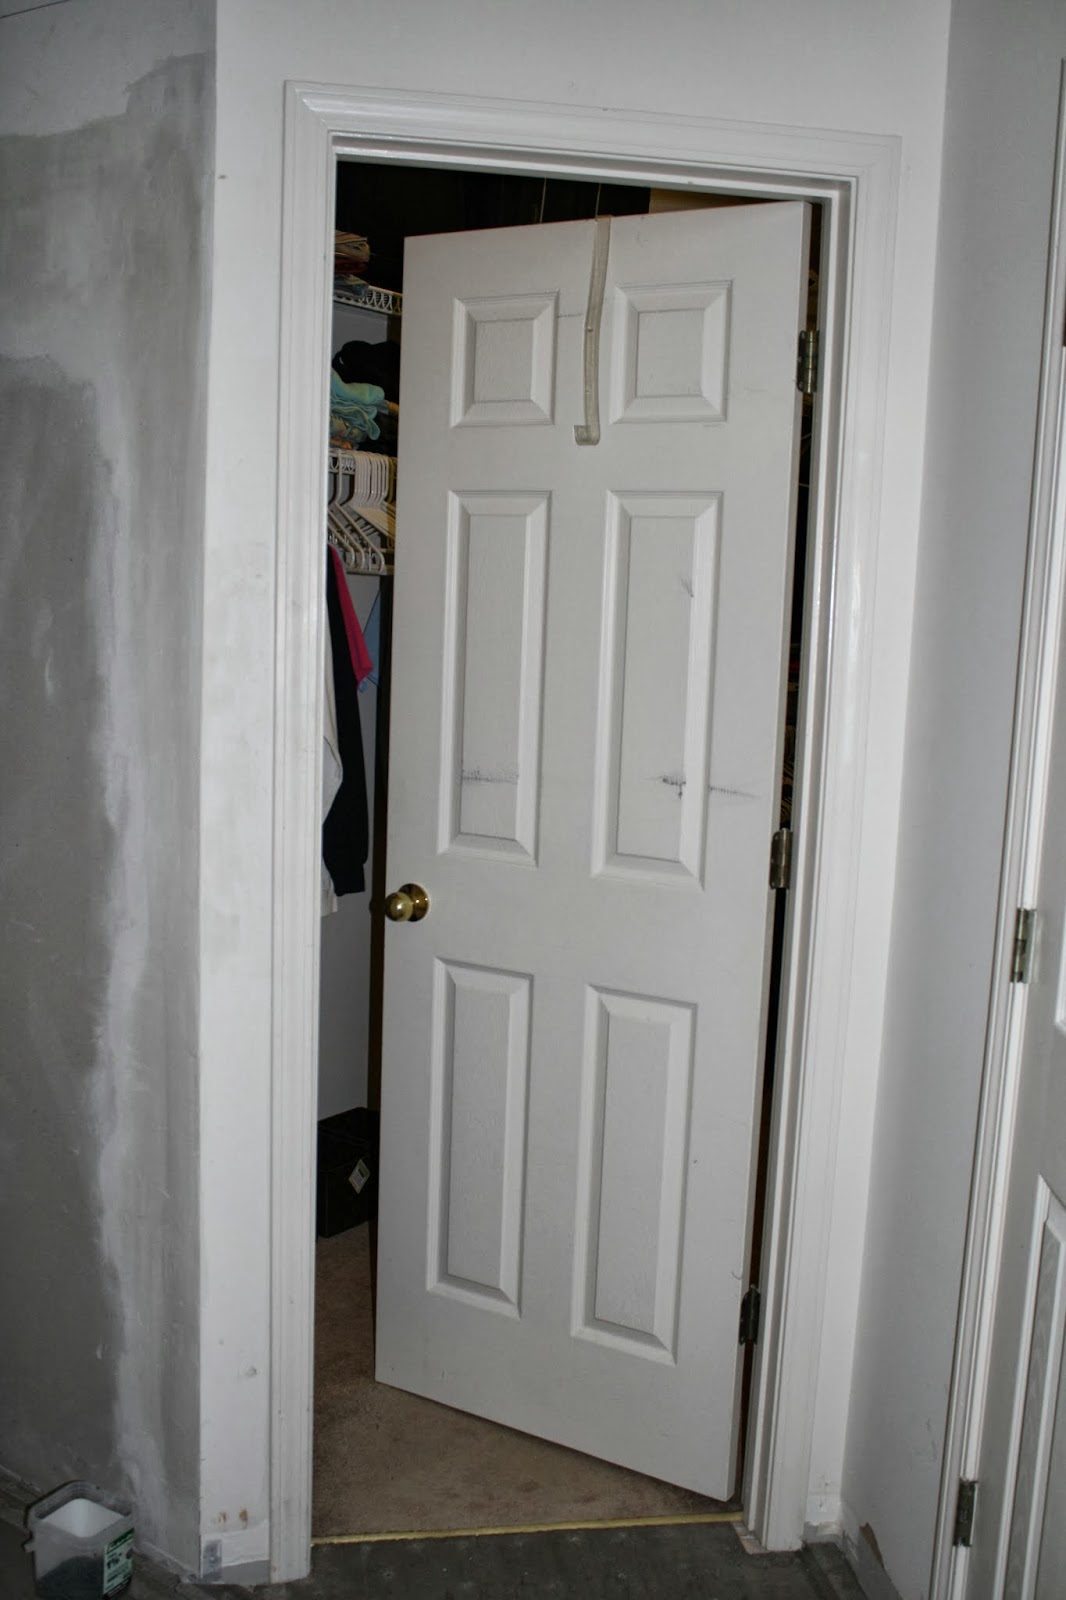
That's the quick and dirty explanation of what he did. In reality, that all took place over a few weeks. He says he could have gotten it done in a week, but he only worked in the evenings after work and on the weekends. Plus in between putting down the concrete board and laying the tile, we decided to move our closet door. More on that later. In the mean time, I painted the walls in Olympic's Sterling Silver. Love it!


Next on the flooring list was to install the baseboards. I am all about reusing things around the house, but the baseboards in the bathroom were looking pretty dingy and we would have had to paint them anyway, so we opted to buy new.

We found these nifty miter boxes by the baseboards at the hardware store (my hubby wanted a table saw, but the miter boxes were a couple hundred dollars less, so they won). He measured, cut, and installed all the baseboards and shoes using some nails, wood filler, wood glue, and white caulk. I think they look so fresh and clean against the tile and new wall color.

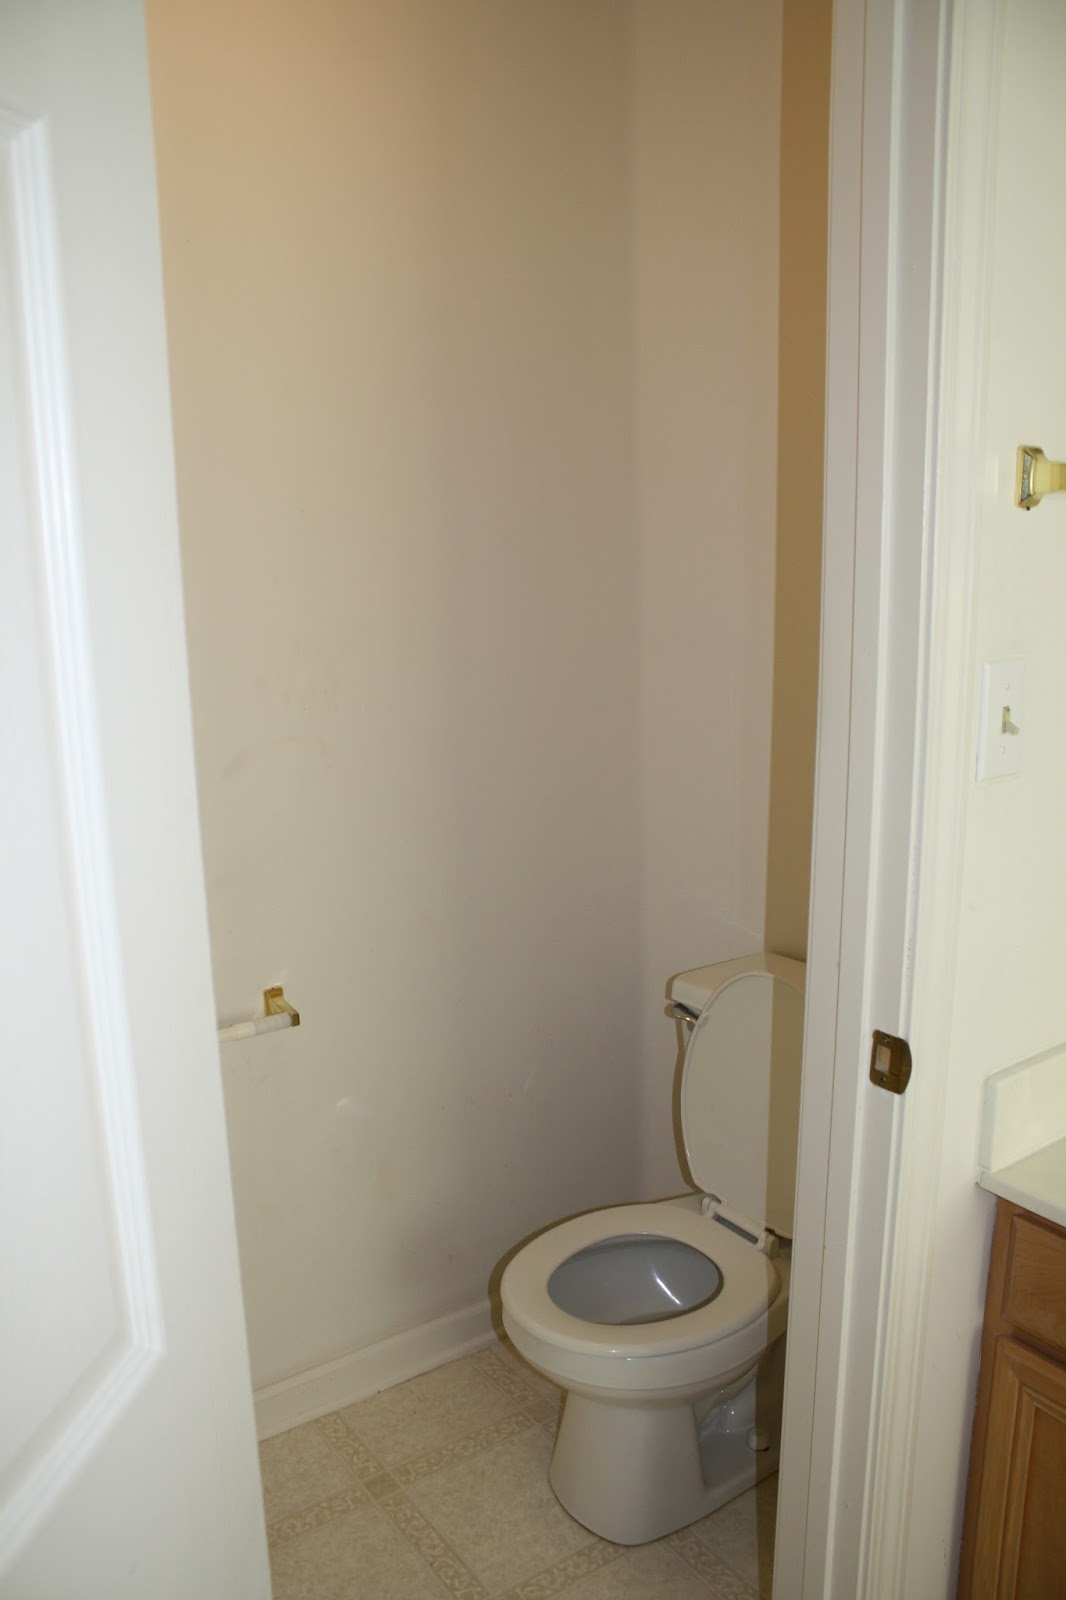
After all the baseboards were installed, he could finally put the toilet back! The only issue he ran in to was that the tile floor was higher up than the old floor, so he had to get some longer floor bolts.
 

 (see my beautifully spray painted toilet paper holder!)

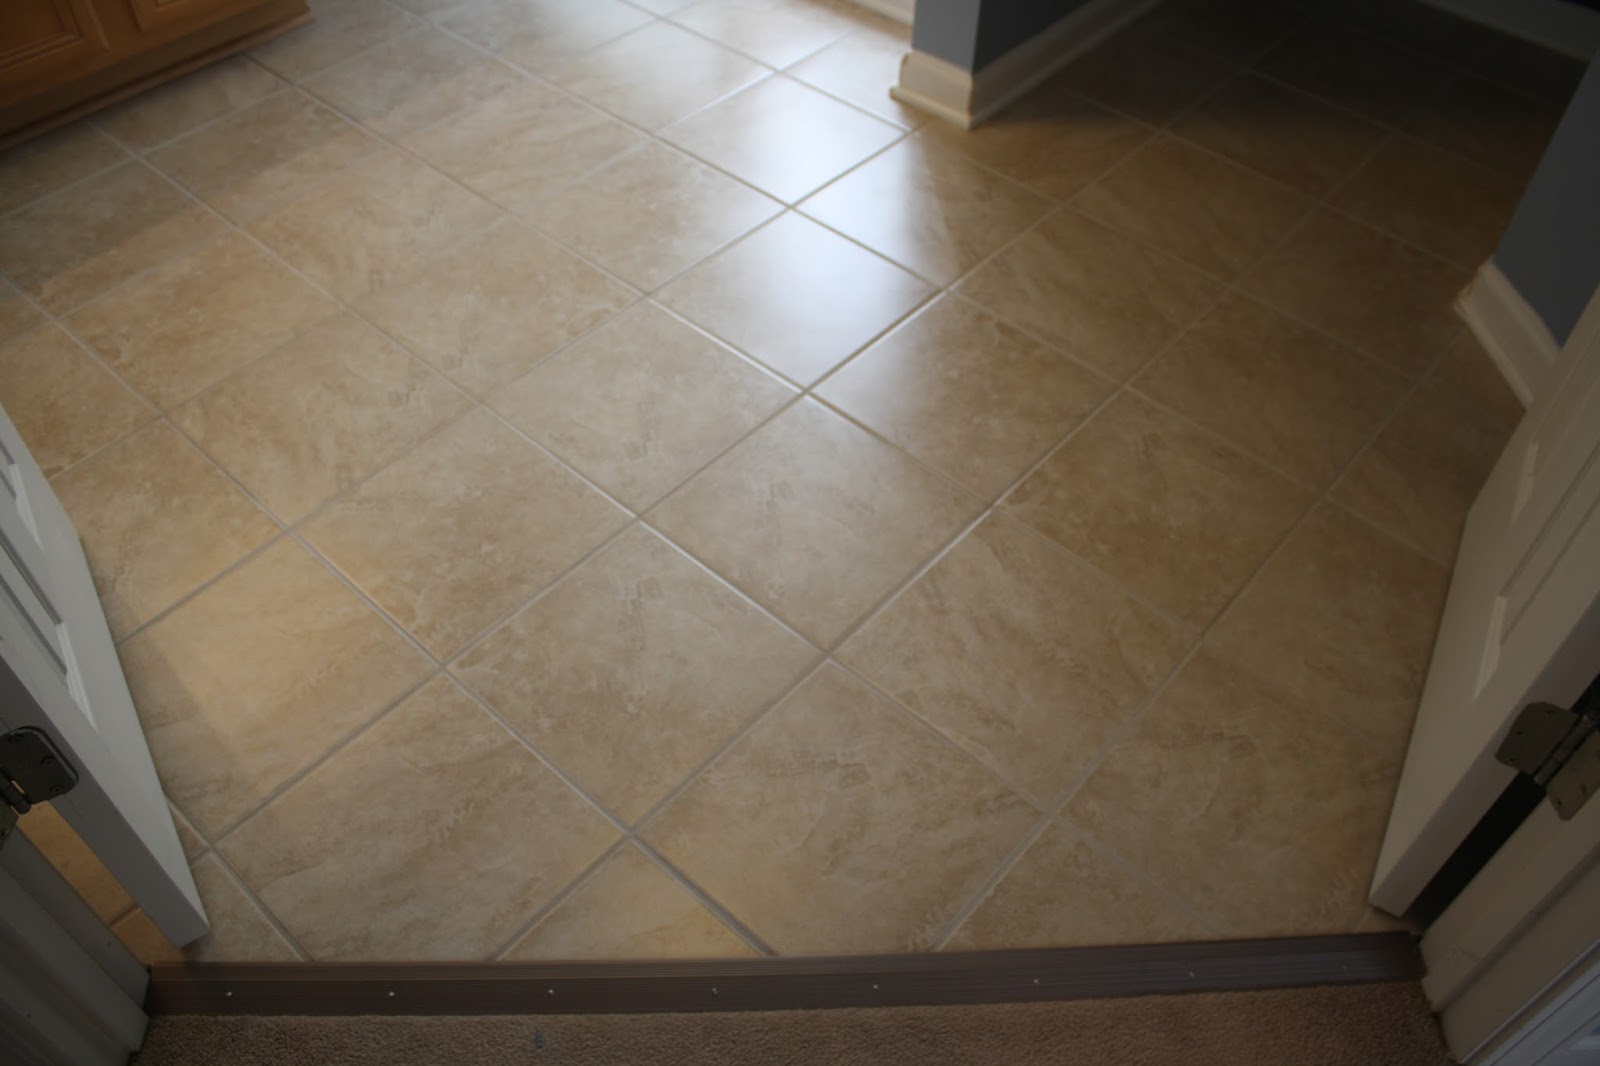
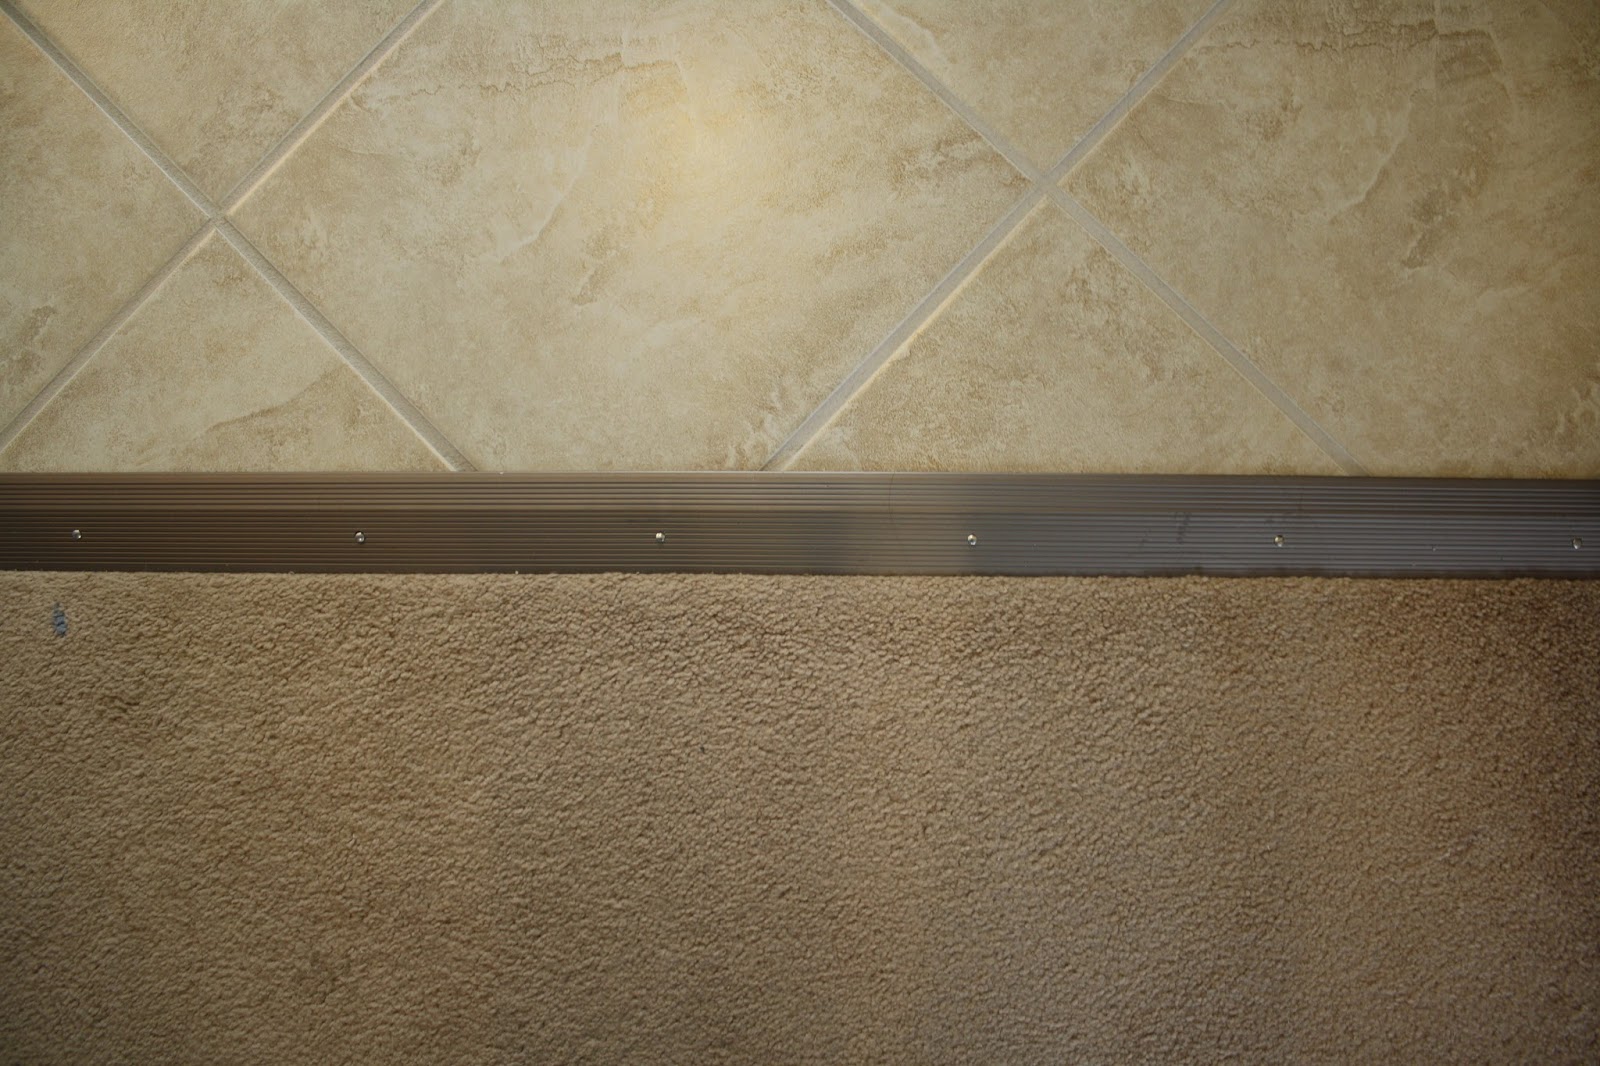
And finally, we needed a transition between the carpet in our bedroom and the new tile in the bathroom. There used to be an ugly gold transition, but we thought a pewter one would look better: 


 We love how it turned out and now my husband can't wait to tile our other full bath.
Before
After
Project Cost $727.54

Monday, September 23, 2013

Kddie Cabinet

We have reached a major milestone in our little one's life...eating solid foods! I already had a cabinet in our kitchen dedicated for her things (bottles, utensils, baby food, etc), but up until this point, it was just a place to store it all until we needed it.

When we went to feed her the first time, I went to the cabinet to grab what we needed. Do you see any spoons or bowls in this picture? I didn't realize how bad this cabinet had gotten!

First I took everything out of the cabinet. Who knew there was so much in there!

A clean slate is always best.

Then I began sorting through everything and grouping like things together. I put the items I know we will be using in the coming months on the bottom shelf (cereal, bowls, spoons, sippy cups, baby food).


On the middle shelf, I put our dishwasher basket, extra bibs, and coolers.


The top shelf is reserved for unopened utensil packages, bottles, and bottle accessories.


And finally, I put a Command hook on the inside of the cabinet to hang her bibs.


So much more functional now!


Clean Mama

Saturday, September 21, 2013

Master Suite: A Little Bit of Spray Paint

This house that we bought makes me laugh sometimes. A lot of it doesn't match. For instance, our master bathroom has a gold toilet paper holder, gold hand towel rod, gold light fixture, and then a silver bath towel rod. Some people, like my husband, wouldn't notice this. But the OCD in me couldn't stand it. Plus, I wanted to get towel rods and fixtures that matched the Oil Rubbed Bronze on our new shower. We had already dished out plenty of money on the shower, so I went looking at the towel rods in our other bathrooms. Our other full bath has all silver towel rods and light, but our half bath has oil rubbed bronze. Perfect! We will just take the rods from the half bath and put them in the master bath. So my husband took them all out and we were ready to switch them around.

When I brought the gold ones in to the half bath, I looked at the light fixture and realized the pattern on the oil rubbed bronze rods matches the light fixture, so we would be separating a set. I reminded my husband that he loves me and broke the news. Being the amazing guy that he is, he patched up the walls in the half bath and put the oil rubbed bronze towel rod and toilet paper holder back on the wall. Did I mention he is amazing?

Still refusing to pay for new towel rods in the master bathroom, I went pinteresting (is that a word?). I came across numerous pins where people used Rustoleum's Oil Rubbed Bronze Universal Metallic Spray Paint. Genius! One can only cost me $5.77. So much cheaper than new towel rods!

So I cleaned up the towel rod, toilet paper holder and light fixture and spray painted away! It took me about 1.5 cans to cover all three items. I am loving how they turned out!


Project Cost - $11.54

Wednesday, September 18, 2013

Master Suite: Contractor Nightmare

Before we moved in, we agreed that the master bathroom would need some work. Everything was white and completely uninspiring.
After we moved in and started using the bathroom, we decided we were going to tackle the bathroom. And so began our first BIG project in the house.

Our wishlist:
- remove the tub (we never would have used it)
- put shower where tub is, would require turning the plumbing around to the other wall
- create an open shelved linen closet out of old shower space
- replace window with frosted glass (although our neighbors do not have any windows on that side of their house, it would just be weird showering in front of a clear window!)

We decided to check out the summer Home and Garden Show for some ideas. We left with a consultation appointment with one of the companies that was at the show. A few days later, they came, drew up an estimate and we decided to go with them.

From that point on, it was an awful experience. We were told they would have everything they needed in 6-8 weeks and it would only take 1 day to install. After 8 weeks, we called and they said they were waiting on the window. A week later, they finally came to install everything. They worked like dogs and got it finished in 2 days:
Before
Lunchtime - Day 1
End of Day 1

Lunchtime - Day 2
End of Day 2
That window they said they were waiting on...was the wrong one. It had clear glass instead of frosted and it looked like it was the wrong size. They said it would take a few days for a new window to come in, and installation would only take an hour or so.

Two weeks later, we called to see what was going on, but our contact did not return our calls. One time he picked up and then hung up right away. So we called a different contact and he said that they had the window and they would come install it the next day. The next day, he called us again and said the window that he found was actually the original window that had the wrong glass. He came back out to our house to remeasure the space for the window and said it would take a week for the new window to be ready.

A month later, we were getting extremely frustrated. I just wanted to use my new shower! We called again trying to get some answers. We finally got in touch with the right person and he said they had the window and would come install it:

A project that was supposed to take 6-8 weeks, ending up taking 4 months. Are we pleased with how it turned out? Yes. Would we do it all again? Definitely not. From now on, we are self-declared DIYers.

Sunday, September 15, 2013

Master Suite: Overnight Decisions

The first time we saw our house, one of the first questions I asked was, why is there an opening between the bedroom and bathroom? This is what I mean:


I suppose they call this an open garden shelf, but I thought it was kind of awkward. We hadn't planned to do anything to it, but we changed our minds after our first night in the house. I was in bed and my husband turned on the light in the bathroom. Even though the doors were closed, it lit up the entire bedroom! The next morning, we decided we were going to close off the opening.

Now, we are first time homeowners and all we had was a ladder, a small tool kit, and a drill. So, to the hardware store we went! We bought:
- a hammer (hey, you have to start somewhere, right?)
- screws
- power sander
- putty knife
- drywall joint compound
- joint tape
- studs
- drywall

Of course, we didn't think about transporting some of the larger items from the store to our house, like the drywall, which didn't fit in our small 4-door car :) My husband had a utility knife with him and was able to trim the pieces of drywall down so we could slide them in to the car. Live and learn right?

We framed in the new wall, hung the drywall, slapped on some mud, sanded, and painted! Not bad for our first project!

Project Cost $80.65