

Showing posts with label kids. Show all posts
Showing posts with label kids. Show all posts
Friday, June 20, 2014
52 Weeks of Printables: Week 25 - Library Book Log
One of our favorite summertime activities to participate in is the Summer Reading Program at our local library. Unfortunately, it also means there are a lot of library books scattered throughout our home, and they are all checked out on various library cards. One way to keep track of all the madness is to have a Library Book Log. This way, we can make sure we get all the books returned on time and avoid fines! Click the image below to grab a copy:

Friday, June 6, 2014
52 Weeks of Printables: Week 23 - Summer Bucket List
School's out for summer! The printables theme for June is Vacation & Travel. We'll start off by creating a summer bucket list. Here are a few items on our family's summer bucket list (you can tell we have little ones):
- Go to a zoo - Play in the sprinkler - Make a blanket fort
- Go to a museum - Play with bubbles - Make something with Play-doh
- Go to a story time - Have a picnic - Paint
- Go to an outdoor pool - Eat a popsicle - Draw with sidewalk chalk
Click the image below to grab your copy and start filling it in!
Friday, May 9, 2014
52 Weeks of Printables: Week 19 - Babysitter Sheet
Leave your babysitter well informed with this Babysitter Information Sheet!
We actually have a Babysitter Binder. This is the first sheet in it, as we can customize it to that specific babysitting occasion. We also have in our binder:
- sleeping and eating tips and tricks specific to our kid
- a copy of our health insurance card
- a list and map of neighbors
- miscellaneous information, such as how to turn on our TV
- a copy of the American Red Cross Pediatric First Aid/CPR/AED reference guide
- a copy of our car seat instructions (in case they will be traveling somewhere)
Click the image below to grab your copy of the information sheet:
Tuesday, January 14, 2014
Meal Planning for Baby & Printable
Our daughter has been eating solid foods for a few months now. In the beginning when she was only eating one solid food meal, it was easy to find something for her to eat. But now that she is eating three solid food meals, I found meal planning is the best solution to make sure I have food on hand to serve her. We use a combination of homemade baby food and prepackaged depending on if we will be home or not. I have heard of some people making some pretty crazy homemade baby food combinations, but I am not that creative!
Steps to Meal Plan for Baby:
1. Sit down with a blank calendar or even just a piece of paper to write down your plan. (or use the free printable at the end of the post!)
2. Think about how many meals your baby eats (this will depend mostly on age).
3. Take inventory of what you have on hand, whether it be fresh or frozen fruits and vegetables, or prepackaged from the store.
4. Fill in your calendar with the foods for each meal. You can be as detailed or vague as you want. For example, I do not write down the amounts, just the foods.
5. Prepare the meals for the week.
Example Meal Plan:
To prepare for the week, I start with measuring out her cereal for the entire week. It makes it so much easier to just grab a bowl than having to measure it out every day. I use these Take & Toss Toddler Bowls made by The First Years to divide up each day's cereal.


Next up, I prepare the fruits and vegetables. I steam the fruits and vegetables before pureeing them (with the exception of bananas). I have a stockpot with a steamer insert that I use. I fill the stockpot with 1-2 cups of water. While the water is boiling, I cut the vegetables up into smaller pieces so they will cook faster. Then I put them in the steamer part and cover with the lid. I let them boil for about 5 minutes and then make sure they are cooked all the way through.


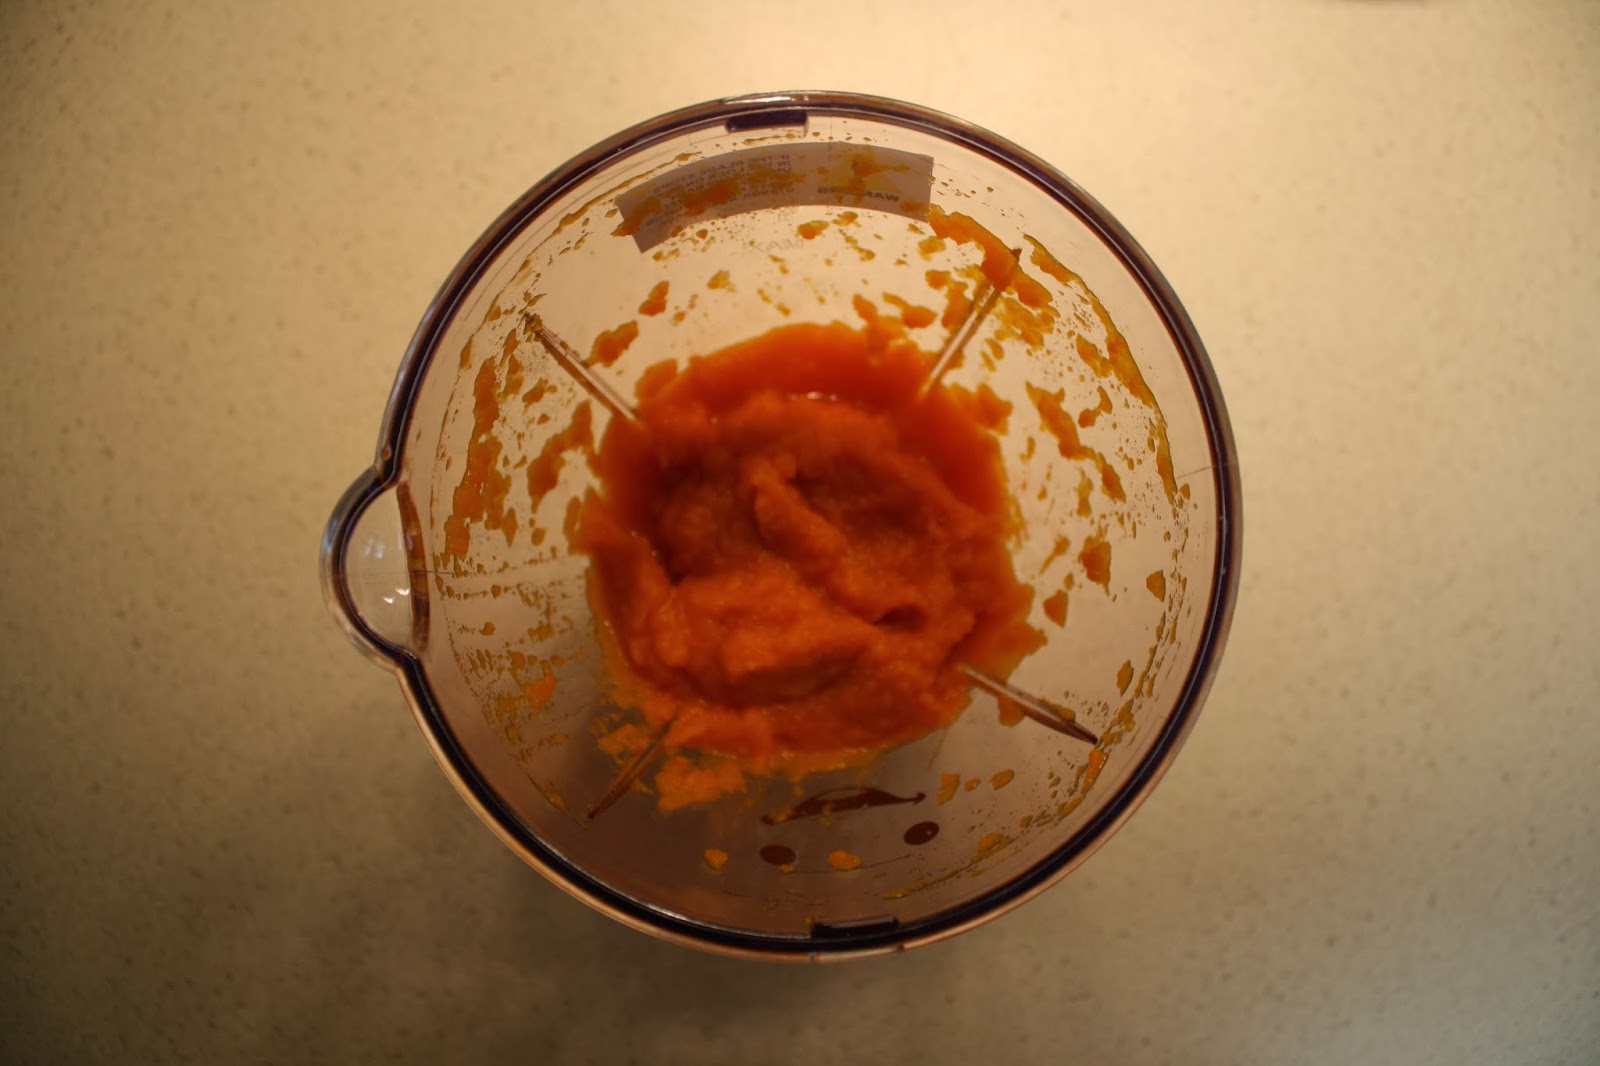
After the vegetables are cooked, I put them in my Baby Bullet. You can just use a regular blender, or even a fork to mash it up. Depending on the fruit or vegetable you are making, you may need to add water. I found this to be especially true with the thicker vegetables like sweet potatoes. I just add the water that I boiled with.


Once the food is pureed, I put them in individual containers and put them in the fridge or freezer, depending on when the food will be consumed.


Some examples of good homemade baby foods: carrots, peas, green beans, sweet potatoes, yellow squash, pears, apples, bananas, avocados, mango, and peaches.

Steps to Meal Plan for Baby:
1. Sit down with a blank calendar or even just a piece of paper to write down your plan. (or use the free printable at the end of the post!)
2. Think about how many meals your baby eats (this will depend mostly on age).
3. Take inventory of what you have on hand, whether it be fresh or frozen fruits and vegetables, or prepackaged from the store.
4. Fill in your calendar with the foods for each meal. You can be as detailed or vague as you want. For example, I do not write down the amounts, just the foods.
5. Prepare the meals for the week.
Example Meal Plan:
| Time | Sun | Mon | Tues | Wed | Thurs | Fri | Sat |
|---|---|---|---|---|---|---|---|
| 12 PM | Multigrain Cereal | Multigrain Cereal | Multigrain Cereal | Multigrain Cereal | Multigrain Cereal | Multigrain Cereal | Multigrain Cereal |
| 2:30 PM | Peach Greek Yogurt | Peaches, Pears | Banana | Apple | Blueberry Greek Yogurt | Mango | Pear |
| 5:30 PM | Peas, Chicken | Sweet Potato, Turkey | Mixed Vegetables, Pasta | Carrots, Beef | Peas, Chicken | Sweet Potato, Beef | Green Beans, Chicken |
To prepare for the week, I start with measuring out her cereal for the entire week. It makes it so much easier to just grab a bowl than having to measure it out every day. I use these Take & Toss Toddler Bowls made by The First Years to divide up each day's cereal.


Next up, I prepare the fruits and vegetables. I steam the fruits and vegetables before pureeing them (with the exception of bananas). I have a stockpot with a steamer insert that I use. I fill the stockpot with 1-2 cups of water. While the water is boiling, I cut the vegetables up into smaller pieces so they will cook faster. Then I put them in the steamer part and cover with the lid. I let them boil for about 5 minutes and then make sure they are cooked all the way through.


After the vegetables are cooked, I put them in my Baby Bullet. You can just use a regular blender, or even a fork to mash it up. Depending on the fruit or vegetable you are making, you may need to add water. I found this to be especially true with the thicker vegetables like sweet potatoes. I just add the water that I boiled with.


Once the food is pureed, I put them in individual containers and put them in the fridge or freezer, depending on when the food will be consumed.

Some examples of good homemade baby foods: carrots, peas, green beans, sweet potatoes, yellow squash, pears, apples, bananas, avocados, mango, and peaches.
Here is a free printable to use for your Baby Meal Planning! Click on the image below:
Monday, September 23, 2013
Kddie Cabinet
We have reached a major milestone in our little one's life...eating solid foods! I already had a cabinet in our kitchen dedicated for her things (bottles, utensils, baby food, etc), but up until this point, it was just a place to store it all until we needed it.
When we went to feed her the first time, I went to the cabinet to grab what we needed. Do you see any spoons or bowls in this picture? I didn't realize how bad this cabinet had gotten!

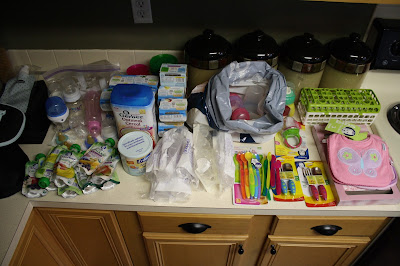


When we went to feed her the first time, I went to the cabinet to grab what we needed. Do you see any spoons or bowls in this picture? I didn't realize how bad this cabinet had gotten!
First I took everything out of the cabinet. Who knew there was so much in there!
A clean slate is always best.
Then I began sorting through everything and grouping like things together. I put the items I know we will be using in the coming months on the bottom shelf (cereal, bowls, spoons, sippy cups, baby food).
On the middle shelf, I put our dishwasher basket, extra bibs, and coolers.


The top shelf is reserved for unopened utensil packages, bottles, and bottle accessories.
And finally, I put a Command hook on the inside of the cabinet to hang her bibs.

So much more functional now!

Subscribe to:
Posts (Atom)